
As of March 2023, Aspire Account users can export various types of data directly.
Admin and Finance users have access to everything, while Employee users can only export their own transactions data.
To learn how to export, simply click on the provided link:
- Account Statements
- Budgets Data
- Cards Data
- Invoices Data
- Claims Data
- Expenses Data
- Bills
- Payment links
- Users
Note! If your exported data contains more than 500 rows, it will be sent to your email. If you don't see the export in your inbox right away, please wait for 60 seconds and check your email again.
How to export Account Statements
- Click on "Transactions" and then "Export" or you can directly click on Export Data under ACCOUNTING on the left side menu on Aspire
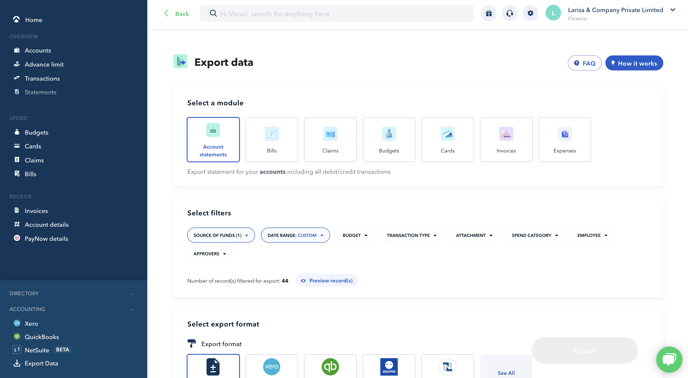
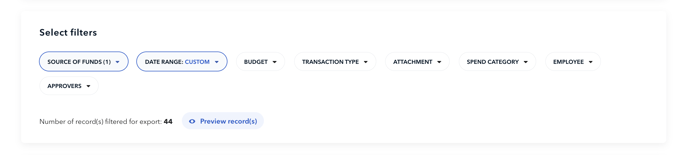
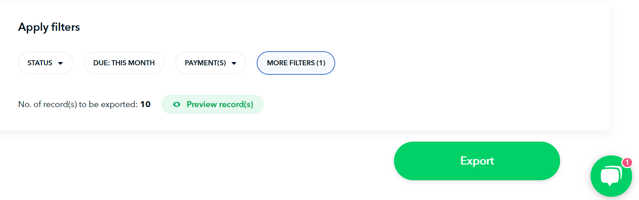
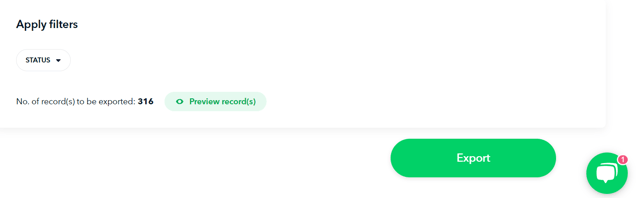
- Apply the filters for your data, including account, date, transaction type and more
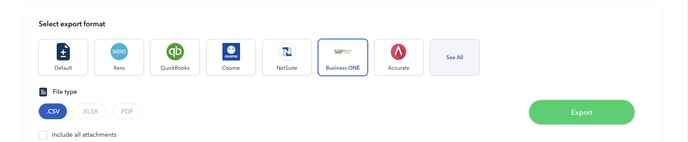
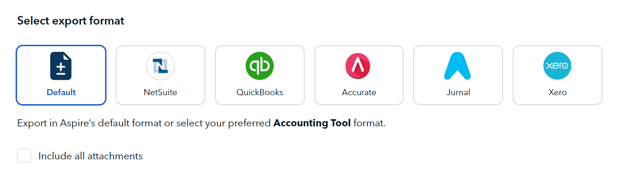
- Select the Export Format and FileType. Formats available are Deskera, Freshbooks, Jurnal, Peak, Sage 50, Wave, Zahir, Zoho Books, Xero, QuickBooks, Osome, NetSuite, SAP Business one, and Accurate.
Tip! To simplify your accounting process, you can directly import the exported files into the Bank Statement or Bank Feed section of your accounting tool, specific to your bank accounts.
Note: You can only export your account statement within a certain period when you have made a transaction.
For an empty account statement, please reach out to our Care team via the chatbox, by also providing the statement period that you would like to see in the letter.
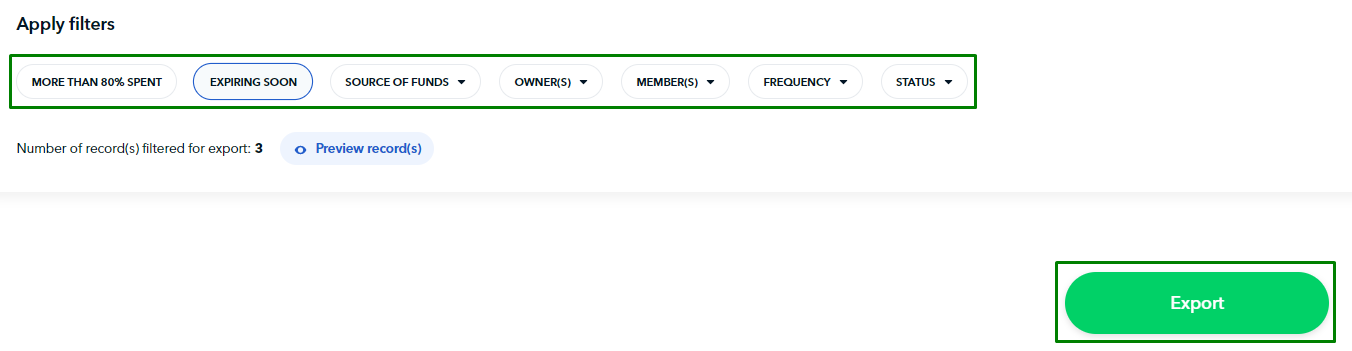
How to export Budgets Data
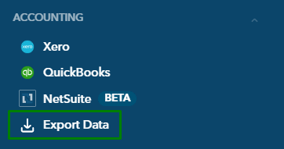
- Under ACCOUNTING, click on "Export Data" on the left side menu panel.
- Click on "Budgets" section
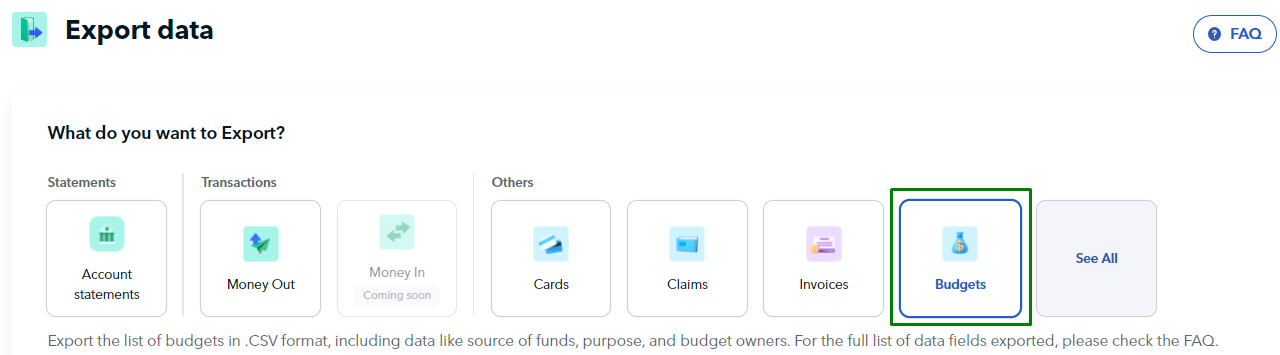
- Apply the relevant filters to your data and export in the .CSV format
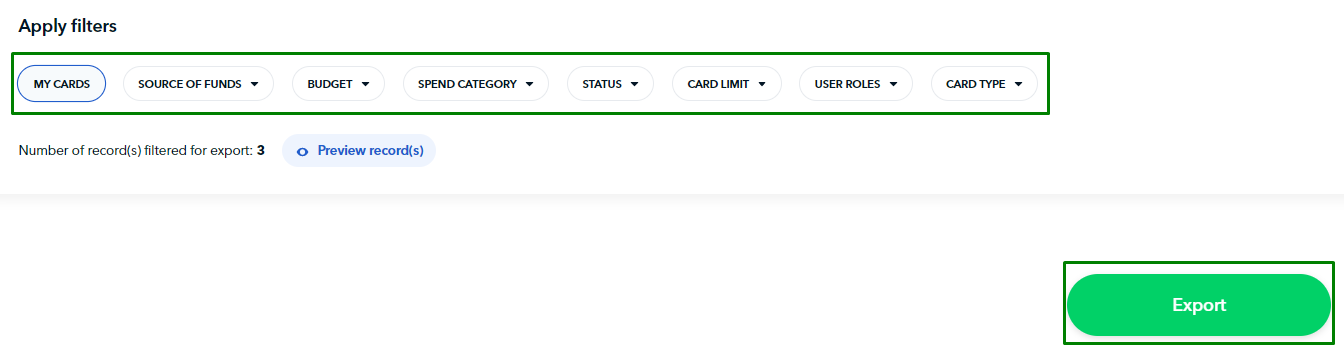
How to export Cards Data
- Under ACCOUNTING, click on "Export Data" on the left side menu panel
- Click on "Cards" section
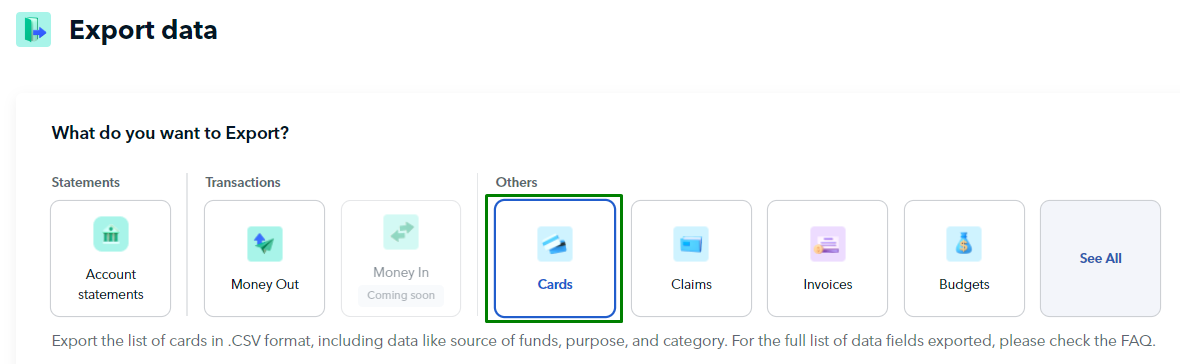
- Apply the relevant filters to your data and export in the .CSV format
How to export Invoices Data
- Under ACCOUNTING, click on "Export Data" on the left side menu panel
- Click on "Invoices" section
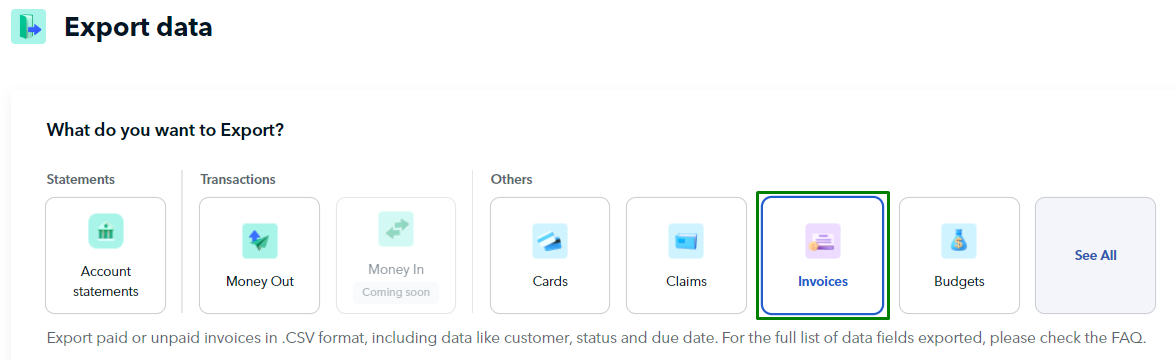
- Apply the relevant filters to your data and then export in .CSV format
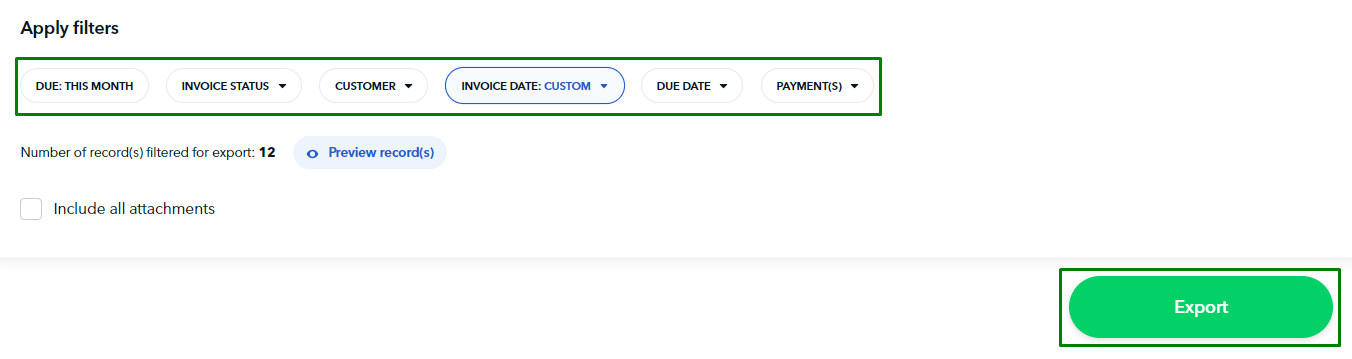
Tip! By importing the exported .CSV file directly into your accounting tool's Invoices/Receivables section, you can easily track your account receivables data. This will help you stay on top of your finances and save you time.
How to export Claims Data
- Under ACCOUNTING, click on "Export Data" on the left side menu panel
- Click on "Claims" section
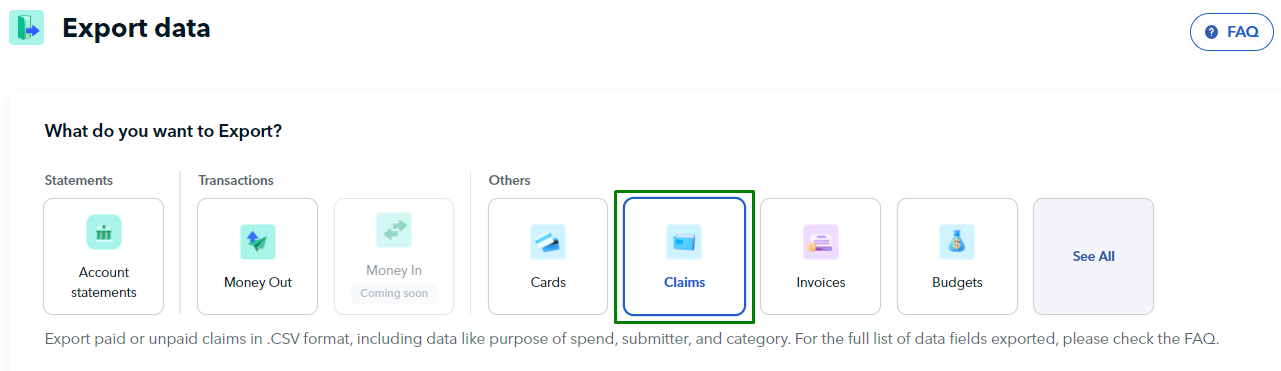
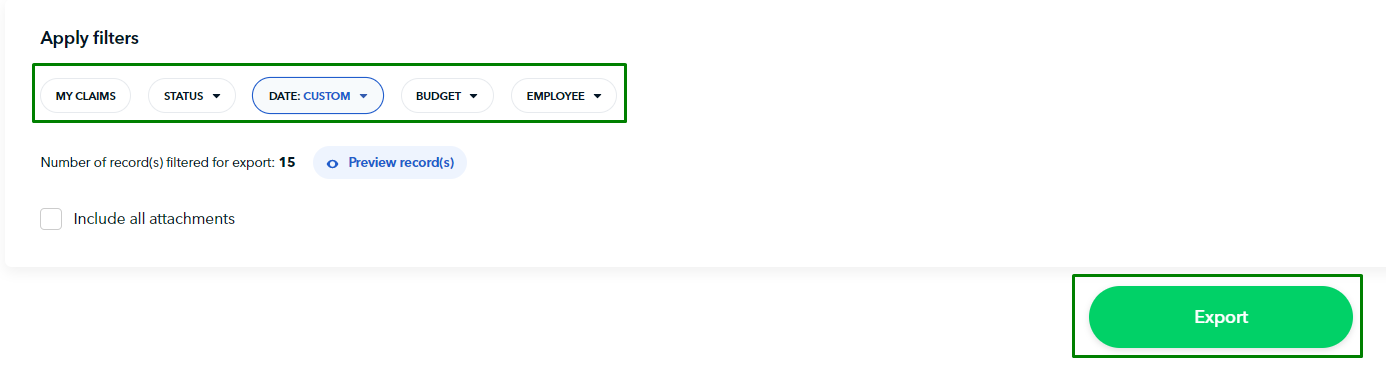
- Apply the relevant filters to your data and export in the .CSV format
How to export Expenses Data
- Under ACCOUNTING, click on "Export Data" on the left side menu panel
- Click on "Money Out" section
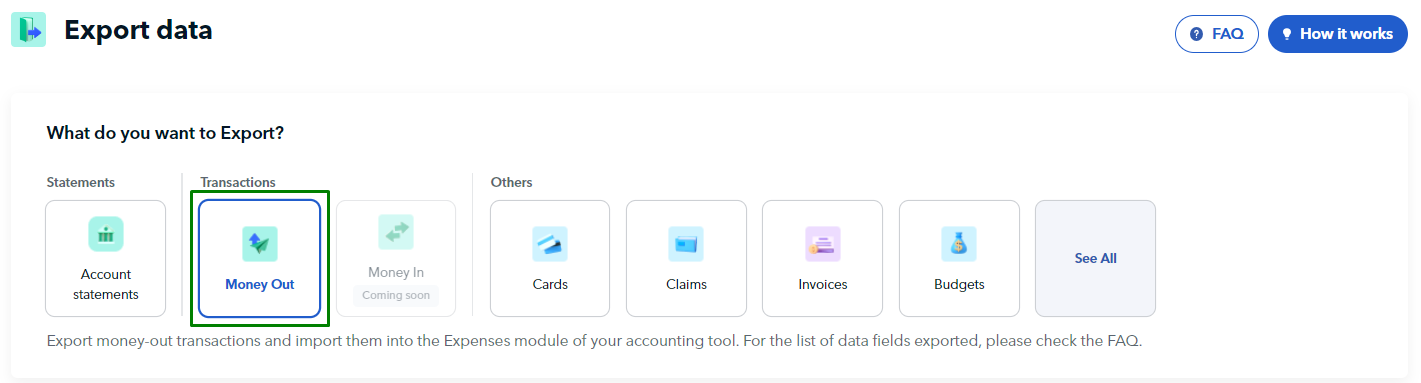
- Apply the relevant filters to your data, and select your export format. Formats available are Netsuite, Quickbooks, Jurnal, Zoho Expense, and SAP business one.

Tip! By importing the exported transactions directly into your accounting tool's Expenses section, you can reconcile your accounts quickly and efficiently. This will save you time and help you stay on top of your finances.
How to export Bills Data
- Under ACCOUNTING, click on "Export Data" on the left side menu panel
- Click on "Bills" section
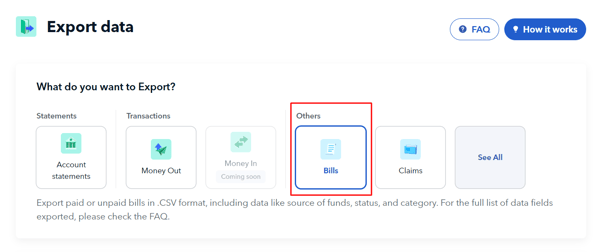
- Apply the relevant filters to your data, and select your export format. Formats available are Netsuite, Quickbooks, Accurate, Journal, and Xero.
How to export Payment Links Data
- Under ACCOUNTING, click on "Export Data"
- Click on "See All", and then select "Payment Links"
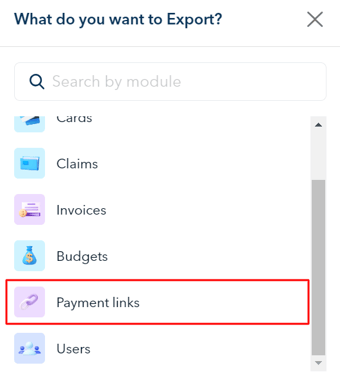
- Apply relevant filters to your data before exporting
How to export Users Data
- Under ACCOUNTING, click on "Export Data"
- Click on "See All", and then select "Users"
.png?width=407&height=457&name=Screenshot-2023-08-03-201214%20(1).png)
- Apply relevant filters to your data before exporting
Questions? Please log in to the app and reach out in the chat at the bottom right corner of the screen.
Suggestions? Let us know here.