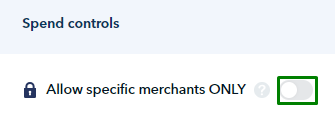
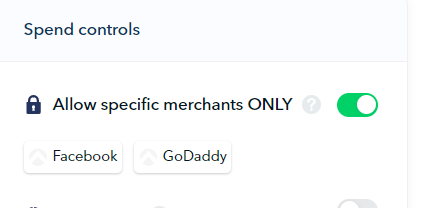
A merchant lock lets you set exactly where your money is spent. You can set one or multiple merchant locks per card at any time!
Merchant locks help give you, the employer or manager, peace of mind when creating and assigning cards for employees or freelancers. It takes less than 30 seconds to do.
Click on the links below to see the guide on how to:
How to set a merchant lock
Note! For Mastercards associated with IDR Debit Account & IDR Advance Limit, you can only assign one merchant lock per card.
You can watch the quick video below to learn how to set a merchant lock on an existing card or when creating a new one.
Step-by-step guide on how to assign merchant locks on existing cards:
- Click on "Cards" on the left-hand side, under "Spend" section
- Search and click on the card you would like to add the merchant lock
- Click on "Edit" in the top right corner
- Under spend controls, tick the "Allow specific merchants ONLY" field

- Select the merchants that you want the card to be spent on by checking the appropriate box, then click "Add selected merchants"
- Click on "Update Card"
Note: If you can't find the merchant you need from the list, don't worry! You can simply submit a request through this link. Our team will review it and add the merchant to our system if applicable.
How to remove a merchant lock
- Click on "Cards" on the left-hand side, under "Spend" section
- Search and click on the card you would like to remove the merchant lock from
- Click on "Edit" in the top right corner
- Under spend controls, click on the merchants listed. This will then prompt the merchant list to come up

- Make the changes you require. Remove the merchants you don't want, add more or remove all
- Click on "Update Card"
Note! Only an Admin or Budget Owner who created the card has the authority to make changes to the merchant lock.
However, an employee may request changes by following the steps provided in this article.
Questions? Please log in to the app and reach out in the chat at the bottom right corner of the screen.
Suggestions? Let us know here.
