
- Aspire FAQs
- Revenue Management
- Invoices
How to upload an invoice?
Note: Only Admin or Finance users can create, edit, and send invoices.
You can upload any pre-existing invoice you have into our invoicing feature. As an example, If you create your invoices on another product, you can save them and then upload them into Aspire directly.
To upload an invoice, watch the video below or follow the steps underneath to guide you:
- Log in to your Aspire Account
- Click Invoices under Receive

- Click New Invoice in the top right-hand corner
- Click on Upload an invoice
- Upload the invoice from your computer (we support jpeg/pdf)
- Select or Create a new recipient to whom you would like to send the invoice to
- Fill out the Invoice Details:
- Insert invoice number
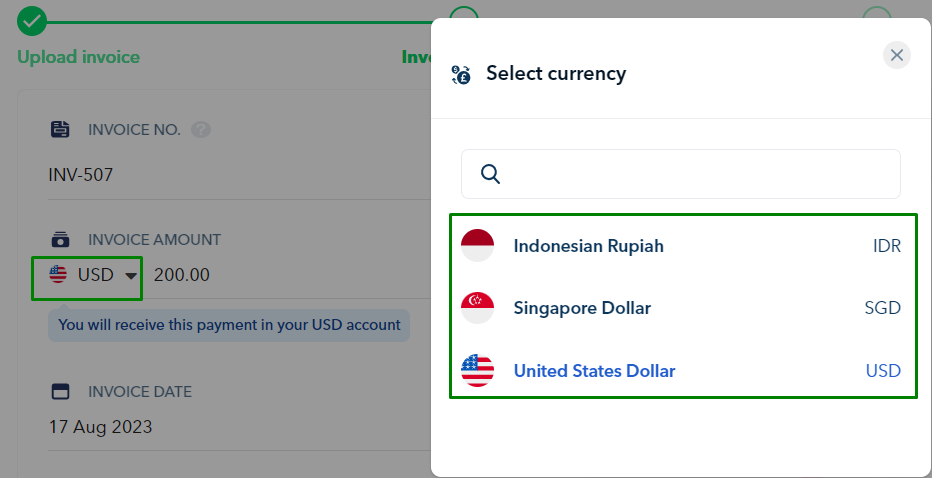
- Choose the invoice currency from the dropdown menu if you have the corresponding debit account activated on your Aspire account (the invoice payment funds will be added to your chosen currency)
- Pick invoice date and due date
- Insert terms and conditions that apply to your business (if any)
- Select the payment options for your recipient
- You can click Preview to view a sample of your invoice or click Next to continue
- Edit the invoice's email: Customize the appearance of your invoice email to suit your preferences.
- Click on Preview to ensure it looks correct. When you're ready, click on Send Invoice
If you're not ready to send this invoice, you can click on  . This will keep it in a draft state until you're ready to send it.
Questions? Please log in to the app and reach out in the chat at the bottom right corner of the screen.
Suggestions? Let us know here.