
Only Admin, Finance with transfer rights, and Finance with submit-only rights users can create invoices.
Note!
Card payment option and scheduled/recurring Invoices feature are not available yet. We encourage you to upvote the following links below so you will be notified immediately once this feature becomes available:
Watch our video below or follow the steps underneath to guide you:
Step-by-step process
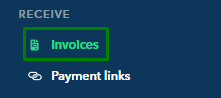
1. Click on "Invoices" under Receive
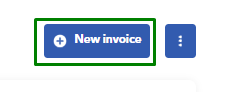
2. Click on blue "➕ New Invoice" in the top right-hand corner, then click "Create a new invoice"

3. Select who the invoice is being sent to or "Create a new customer"
4. Choose the invoice currency from the dropdown menu if you have the corresponding debit account activated on your Aspire account.

4. Complete the Invoice Items section, and place the Item Description, Price, QTY, Tax, and Discount. If you need to add another item, simply click on "➕New Item"
Note! If you would like to preview the invoice, click on "Preview" or move forward by clicking on "Next"

5. Complete the Invoice Details section, and place the Invoice Number, Due Date, Invoice Date, T&Cs and payment options
Note! If you would like to preview the invoice, click on "Preview" or move forward by clicking on "Next"
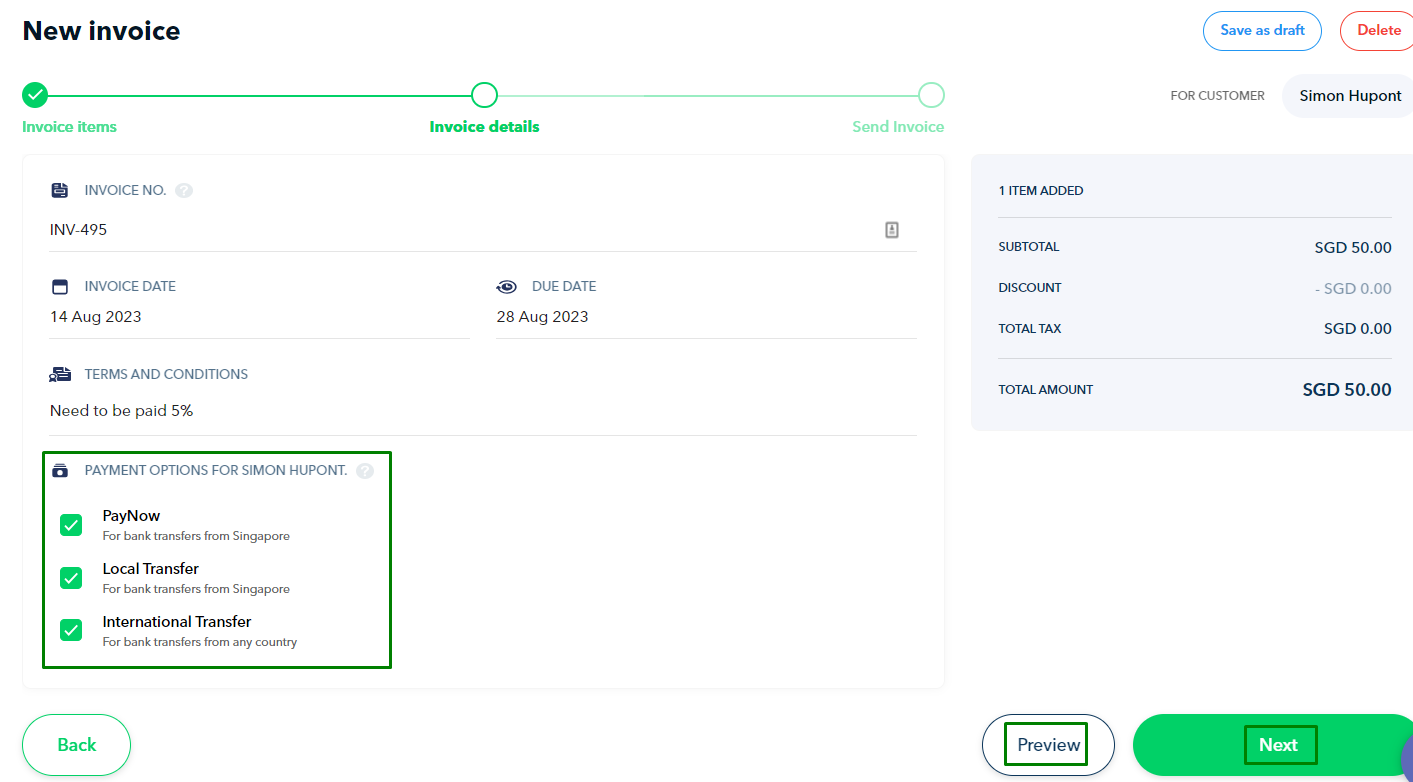
Note!
- SGD Account - You can receive payments from abroad as long as your SWIFT SGD Account Details are activated.
- IDR Account - Payments can be received through Virtual Accounts or activated E-wallets.
6. Add a personalised message to the customer and fill out other particulars (if required)
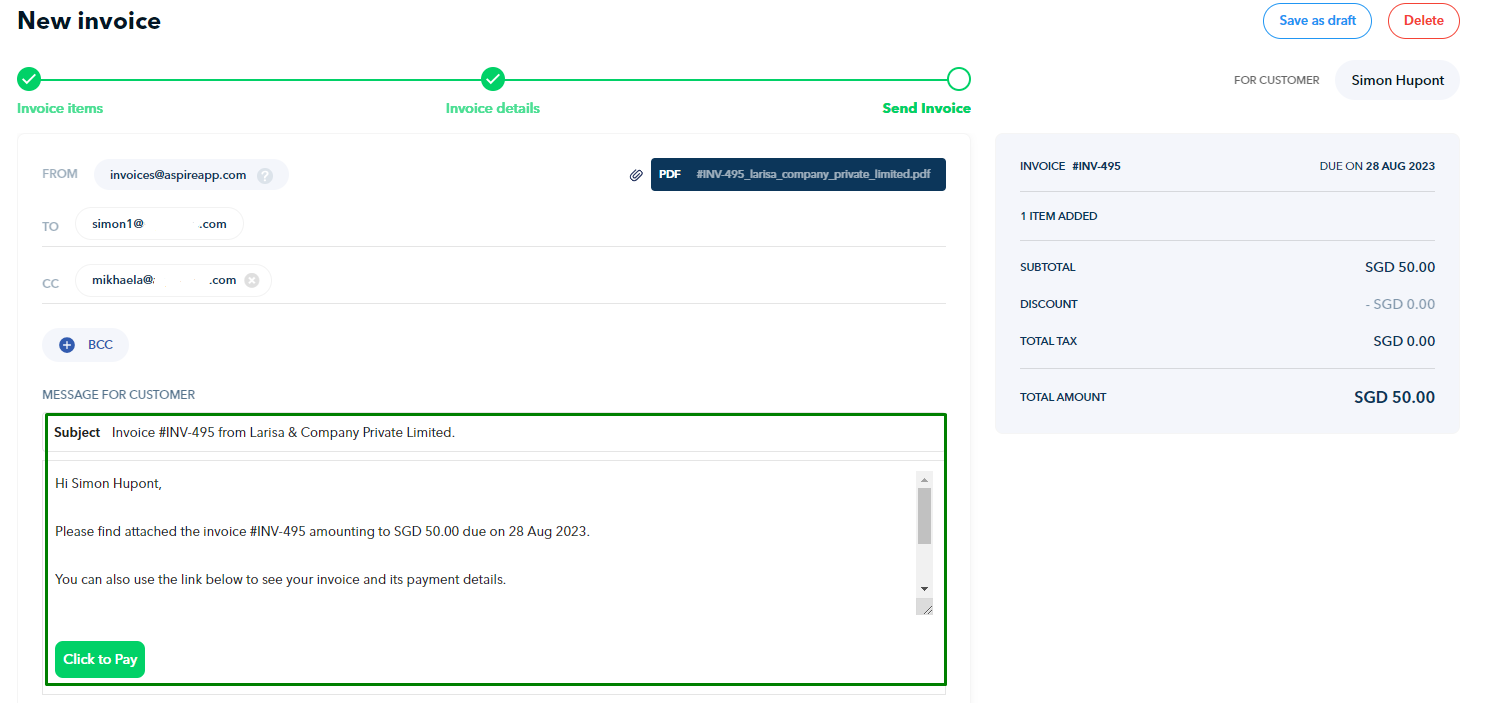
7. Before sending the invoice, we recommend previewing it to ensure it appears as intended. If everything looks good, click "Send Invoice."

Your invoice will then be sent via email to your customer. This invoice will then appear in your Invoice Dashboard.
Note: Invoices created in IDR currency will take up to 24 hours to appear in your Aspire account.
Questions? Please log in to the app and reach out in the chat at the bottom right corner of the screen.
Suggestions? Let us know here.